
How To Install A Rain Shower Head With Handheld?
A rain shower head with a handheld shower is one of the most practical upgrades for modern bathrooms. The rain head delivers a wide, relaxing spray for daily showers, while the handheld adds control for rinsing, cleaning the shower area, and helping users who prefer targeted water flow. Correct installation matters because these systems combine multiple water outlets, more threaded connections, and different mounting points. A small mistake can lead to leaks inside the wall, weak flow, unstable brackets, or poor switching between the rain head and handheld.
This guide explains how to install a rain shower head with handheld in a safe and reliable way, covering both common installation types, surface-mounted systems and concealed valve systems. You can view product styles and matching components here: rain shower.
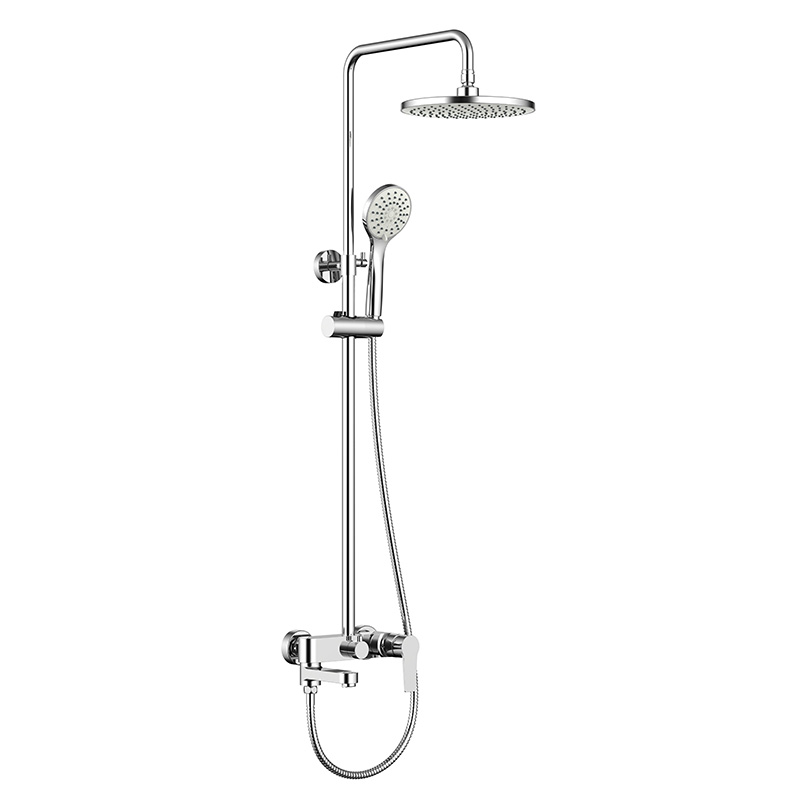
Understand Your Shower Type Before You Start
Rain shower with handheld setups are usually installed in one of two ways. The first is a surface-mounted system that uses your existing shower arm outlet and installs mostly outside the wall. The second is a concealed system where a valve or diverter is installed inside the wall and only trims are visible.
A surface-mounted system is often easier for renovation work because it reduces wall opening. A concealed system creates a cleaner look but requires precise rough-in depth, correct pipe routing, and wall access. Identifying your type first helps you choose the correct parts and prevents rework.
Tools and Materials You Should Prepare
Most installations require standard plumbing tools and sealing supplies. Having everything ready prevents rushed work and helps ensure a clean finish.
Typical items include an adjustable wrench, hex keys for brackets, plumber’s tape, a level, a soft cloth to protect finishes while tightening, silicone for wall holes if required, and the correct adapters if your local thread standard differs from the shower kit.
If you are replacing an existing shower head, prepare a bucket or towel because residual water may drain when the old head is removed.
Shut Off Water and Protect the Work Area
Before touching any fittings, turn off the water supply if your system requires it, especially if you will open wall connections or remove the old mixing valve. For simple shower head replacement that stays at the arm outlet only, water shutoff is still recommended because an accidental valve bump can cause unexpected flow.
Cover the drain and protect tiles or bathtub surfaces with a cloth. Dropped fittings can chip ceramics or damage the finish of hardware.
Remove the Existing Shower Head and Inspect Threads
If you are upgrading from a standard shower head, unscrew it from the shower arm using a wrench with a cloth wrap to avoid scratching. After removal, clean old tape and residue from the threads. Dirty threads are a common cause of slow leaks that appear after the system is fully installed.
Inspect the shower arm for cracks and ensure it is firmly seated in the wall. A loose shower arm can rotate under load and weaken sealing after installation.
Install the Rain Shower Head Connection
For a rain head that mounts to an existing shower arm, wrap plumber’s tape around the male threads in the correct direction so it tightens when you screw on the fitting. Tighten by hand first to avoid cross-threading, then use a wrench carefully for the final snug fit. Over-tightening can strip threads or deform washers, causing leaks later.
If your rain head uses a ceiling arm or an extended arm, confirm the final angle and height before tightening fully. A rain head should sit level so water distribution remains even and spray does not drift to one side.
Install the Handheld Shower Holder and Hose
A handheld shower requires a stable holder and correct hose routing. If the holder mounts to tile, mark the position with a level, drill with the correct bit, and use anchors suitable for your wall material. Tighten screws evenly so the bracket sits flush without bending.
Connect the hose to the handheld and to the outlet point on the system. Most hoses use rubber washers rather than tape, so confirm the washers are seated correctly. If a washer is missing or twisted, leaks will appear immediately after water is turned on.
Route the hose so it can extend freely without rubbing sharp edges or being trapped behind a door. A smooth hose path improves daily use and reduces long-term wear.
Install or Connect the Diverter Correctly
A rain head plus handheld requires a way to switch water between outlets. Some systems use a diverter integrated into the shower valve, while others use a diverter at the shower arm or on the exposed rail system.
The installation must ensure water is directed cleanly with minimal pressure drop. If the diverter is installed backward or mismatched to the connection type, you may get weak flow or water coming from both outlets unintentionally. Ensure the flow direction marks match your pipe direction and that all threaded connections are sealed correctly.
Turn On Water and Test for Leaks and Performance
After installation, turn the water on slowly and test each outlet separately. Check all joints with a dry tissue or paper strip to detect small leaks that may not drip immediately.
Test the rain head first. A stable rain spray should look consistent across the face. If the spray is uneven, check for trapped debris in the inlet screen and confirm the head is level. Then test the handheld and check that the hose connections remain dry under pressure.
Switch the diverter multiple times while the water is running. A good setup will switch cleanly without loud knocking or delayed response. If the diverter feels stiff, do not force it; recheck alignment and installation.
Common Problems and How to Fix Them Quickly
Leaks at threaded joints usually come from insufficient tape, dirty threads, or cross-threading. Remove the fitting, clean threads, retape, and reinstall carefully. Leaks at hose connections usually come from missing washers or mis-seated washers.
Weak flow is commonly caused by a clogged screen, flow restriction in the valve, or insufficient household pressure. If only the rain head is weak, the head may require a higher pressure environment, or the pipe sizing may be limiting flow. If both outlets are weak, check valves and supply pressure first.
If water comes out of both outlets at once, the diverter may be partially engaged or not seated correctly. Recheck installation orientation and ensure the diverter mechanism moves fully into each position.
Installation Checklist Table
Use this quick table to verify that the installation is complete and ready for daily use.
| Check Item | What Good Looks Like | What to Fix If Not |
|---|---|---|
| Rain head alignment | Head is level, spray is even | Re-level arm or tighten at correct angle |
| Thread sealing | No moisture around joints after 5 minutes | Re-tape, clean threads, re-tighten |
| Handheld holder stability | Holder does not rotate under hand load | Re-anchor, tighten evenly, reseat bracket |
| Hose performance | Hose extends smoothly, no kinks | Re-route, adjust holder height |
| Diverter switching | Clean switching, no dual-flow | Recheck diverter install and seating |
| Overall finish protection | No wrench marks or scratches | Use cloth wrap for final adjustments |
Choosing a System That Installs Cleanly and Performs Well
A rain shower head with handheld works best when components are designed to match in thread fit, diverter compatibility, and finish consistency. DELICA focuses on quality control and structured management systems and holds multiple certifications used in global sanitary ware markets, supporting consistent product output for overseas distribution. If you are planning new installation or project sourcing, you can review configuration options and matching sets here: rain shower.
Conclusion
Installing a rain shower head with handheld is straightforward when you follow a clean sequence: confirm your shower type, prepare proper sealing materials, mount brackets securely, connect hoses with correct washers, install the diverter in the right orientation, and test every joint under pressure. A careful installation prevents hidden leaks, ensures stable switching between outlets, and delivers the full comfort benefit of both a rain spray and a controlled handheld rinse.
For more styles and set options, visit the rain shower collection.